 Anacortes Exterior
 Flounder Bay's Siding Has a Harder Job Than Most
Flounder Bay sits close enough to the water that homes here take on a different kind of weather exposure than siding further inland in Skagit County. Salt-laden air moves off the water and settles on exterior surfaces year-round, driving rain comes in sideways during fall and winter storms, and the combination of shade, moisture, and mild temperatures gives moss a long season to establish itself on anything that stays damp. None of that is unusual for the Anacortes area, but it does mean siding installed here needs to be chosen and installed with that specific exposure in mind, not treated like a generic product going up on a generic wall.
We install siding in Flounder Bay regularly enough to know which details actually matter for homes in this pocket of Anacortes: how water sheds off the roofline and down the wall plane, where moss tends to take hold first, and which assemblies hold up to years of marine air without the maintenance turning into a second job for the homeowner.
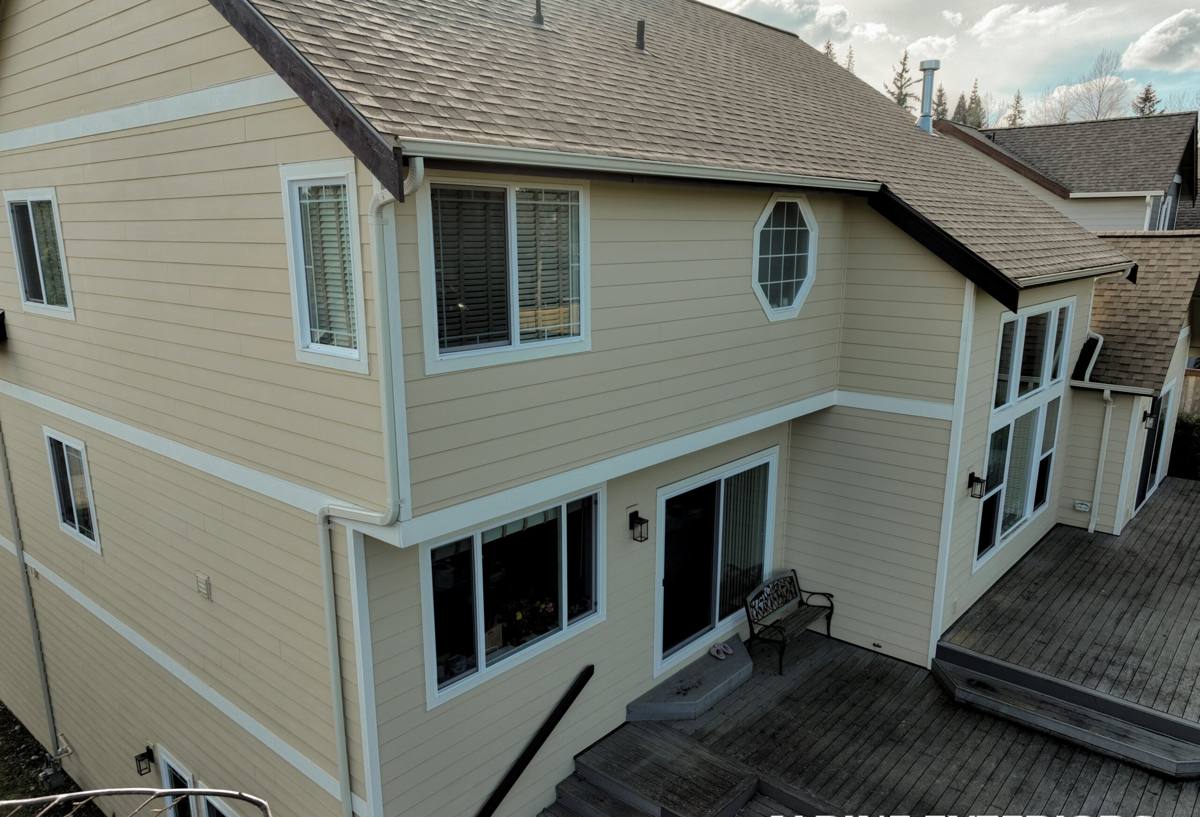
What Salt Air, Rain, and Moss Actually Do to a Wall Assembly
These three factors don't just affect how siding looks — they affect how it performs over time.
Salt Air
Airborne salt is corrosive to exposed metal fasteners, flashing, and trim, and it can accelerate the breakdown of some paint films and coatings faster than a typical inland finish is rated for. Over years, a finish that isn't engineered for coastal exposure can chalk, fade unevenly, or start showing fastener corrosion well ahead of schedule.
Driving Rain
Wind-driven rain doesn't just fall on a wall — it gets pushed into laps, seams, and penetrations. A siding installation that relies on caulk alone to keep water out, rather than proper lap sequencing, flashing, and drainage behind the cladding, will eventually let moisture in. Once that happens, the problem is usually hidden behind the siding until it's serious.
Moss and Sustained Moisture
Anacortes' mild, damp climate is ideal moss habitat, especially on shaded north- and west-facing walls, under eaves, and anywhere airflow is restricted. Moss holds moisture directly against the siding surface. On materials that absorb water or swell when wet, that sustained dampness is what leads to soft spots, delamination, or rot at the substrate — not the moss itself, but what it traps against the wall.
Why We Install Only James Hardie Fiber Cement
We install James Hardie fiber cement siding exclusively. We don't install vinyl, LP SmartSide, Cemplank, Allura, primed spruce, or cedar — not because those products don't have a place in the market, but because after years of installation work in this climate, Hardie is the product we're willing to stand behind on a home exposed to salt air and sustained wet weather.
Fiber cement is non-combustible and dimensionally stable — it doesn't expand and contract with moisture the way wood-based products do, which matters directly for a wall that's regularly wetted by driving rain. Hardie's ColorPlus finish is a factory-applied, baked-on coating engineered to hold color and resist fading and chipping better than field-applied paint, which matters when a home is also fighting salt exposure. And Hardie's HZ5 product line is specifically engineered for wetter, more variable climates like the Pacific Northwest, with moisture and freeze-thaw performance built into the formulation rather than added after the fact.
We're not going to tell you every alternative product is worthless — vinyl is inexpensive and low-maintenance in the right setting, and cedar has real aesthetic appeal for the right homeowner. But vinyl can warp and fade under sustained UV and temperature swings, and it doesn't offer real fire resistance. Cedar and primed spruce require an ongoing maintenance commitment — refinishing, caulking, moisture monitoring — that most homeowners underestimate until the first signs of rot show up. On a home exposed to Flounder Bay's specific mix of salt air and driving rain, those trade-offs show up faster and cost more to manage than most people expect. That's the honest reason we standardized on Hardie and stopped installing the alternatives.
What a Correct Installation Actually Involves
Siding installation is mostly invisible once it's done — the parts that actually determine whether it lasts are the parts you never see again. A correct install includes:
- Water-resistive barrier and drainage plane: a properly lapped weather barrier behind the siding, installed so water that gets past the cladding drains down and out rather than pooling against the sheathing.
- Rainscreen or furring where called for: a small air gap behind the siding lets any incidental moisture dry out instead of staying trapped — especially valuable on the shaded, damp-prone elevations common around Flounder Bay.
- Correct lap and fastener spacing: Hardie specifies minimum overlaps, fastener placement, and clearances for a reason — get them wrong and you create entry points for wind-driven rain.
- Proper flashing at every penetration: windows, doors, hose bibs, light fixtures, and vents all need site-formed or purpose-built flashing integrated with the water-resistive barrier, not just caulked over.
- Ground and roofline clearance: siding held to Hardie's minimum clearance from grade, decks, and roof lines keeps splashback and roof runoff from holding moisture against the bottom courses — a common moss and rot starting point.
- Factory-finished cuts sealed correctly: any field cut into ColorPlus siding exposes raw fiber cement and needs to be sealed with the correct touch-up product, not left bare or covered with generic paint.
Skip any one of these and the siding can still look fine for a while — the failures that come from cutting corners on installation usually show up years later, after the labor and warranty window are behind you.
Our Process, Start to Finish
1. On-Site Assessment
We walk the home with you, looking at wall exposure by elevation, existing moisture or moss patterns, trim and window conditions, and anything specific to how the property sits relative to wind and rain direction.
2. Tear-Off and Substrate Check
We remove the existing siding and inspect the sheathing underneath. Any rot, soft spots, or water damage gets addressed before anything new goes up — installing new siding over a compromised substrate just hides the problem.
3. Water Management Installation
Weather-resistive barrier, flashing, and rainscreen components (where applicable) go in first. This is the layer that does the real work of keeping water out over the life of the siding.
4. Hardie Installation to Spec
Siding, trim, and fascia go up following James Hardie's published installation requirements for fastener pattern, clearance, and lap — not shortcuts specific to speed.
5. Final Detailing and Walkthrough
Caulking, touch-up, and trim details get finished, and we walk the exterior with you before calling the job complete.
What Affects Cost on a Flounder Bay Home
Every home is different, but these are the factors that most often move the price of a siding installation up or down. We won't quote a number without seeing the home, but this gives you a sense of what we're evaluating.
| Factor | Why It Matters |
|---|---|
| Home size and story count | More wall area and taller elevations mean more material and more scaffolding or lift work. |
| Existing siding removal | Tear-off of old siding, especially if multiple layers or damaged sheathing are found, adds labor. |
| Wall exposure to wind and water | Elevations facing prevailing weather may need additional flashing detail or rainscreen furring. |
| Trim and architectural detail | Homes with more corners, windows, gables, and trim lines take more time to detail correctly. |
| Hardie product line and finish chosen | Plank profile, panel systems, and ColorPlus color selection all affect material cost. |
| Substrate repair needed | Rot or water damage found during tear-off has to be repaired before new siding goes on. |
Why Hiring a Crew That Already Works Flounder Bay Matters
Siding installation done to a generic standard and siding installation done for this specific stretch of Anacortes waterfront aren't the same job. A crew that already works in Flounder Bay knows which elevations tend to catch driving rain, where moss shows up first on homes in this area, and how much clearance and drainage detail actually matters here versus a drier inland neighborhood. That's not something you can fully specify in a bid document — it comes from having done the work on homes with the same exposure.
It also matters for warranty performance. James Hardie's product warranty and finish warranty both depend on installation following their published specifications. A crew unfamiliar with coastal Skagit County conditions can install siding that technically meets code but still lets in wind-driven rain at a poorly detailed penetration, or sets clearances too tight for a wall that gets consistently wetted. Getting it right the first time is cheaper than diagnosing a moisture problem behind finished siding two or three years later.
Signs Your Current Siding May Be Due for Replacement
Homeowners in Flounder Bay often notice these signs before calling us — they're worth checking for on your own home:
- Soft or spongy spots when you press on the siding, especially near the bottom courses or under windows
- Persistent moss or algae growth that comes back quickly after cleaning
- Visible cupping, warping, or separation at seams and laps
- Peeling or bubbling paint, or chalky residue that wipes off on your hand
- Rust staining running down from fasteners or trim
- Rising heating bills that may point to compromised insulation behind failing siding
Any one of these on its own isn't necessarily an emergency, but a few together usually mean it's worth having someone look at what's happening behind the surface.
Maintaining Hardie Siding in a Coastal Climate
James Hardie siding is low-maintenance compared to wood, but "low-maintenance" doesn't mean "no maintenance," especially with the moss pressure common around Anacortes. A simple annual routine goes a long way:
- Rinse the exterior with a garden hose (not a pressure washer, which can force water behind laps) to clear salt residue and organic buildup
- Trim back vegetation and tree limbs that shade walls and keep them damp longer than necessary
- Check and clear gutters so roof runoff isn't sheeting down the siding face
- Inspect caulking at trim and penetrations annually and have any cracked or missing sealant replaced
- Address moss promptly with a gentle, siding-safe treatment rather than letting it establish
Staying ahead of these small tasks is what lets a correctly installed Hardie system go the distance in a climate that doesn't do siding any favors.
If you're weighing a siding replacement on a Flounder Bay home, we're happy to walk the property with you, look at what your current siding is telling us, and put together a straightforward, no-pressure estimate for a James Hardie installation built for this exact exposure. Use the form below to get started.