 Anacortes Exterior
 Why Cap Sante Homes Take a Harder Hit Than Most
Homes on and around Cap Sante sit close to the water, often with a clear line of sight to the marina and the channel beyond. That view comes at a price: the same open exposure that makes the location desirable also means siding here takes on salt-laden air, wind-driven rain, and long stretches of damp, shaded weather that other Anacortes neighborhoods further from the shoreline don't deal with in the same combination. Salt air is corrosive to metal fasteners and trim, driving rain finds every gap in a poorly sealed wall assembly, and Skagit County's mild, wet winters keep siding surfaces damp for weeks at a time, which is exactly the environment moss and mildew need to take hold.
None of this makes Cap Sante a bad place to own a home — it just means the siding system has to be chosen and installed with that specific combination of stressors in mind. A product or installation method that holds up fine in a drier, more sheltered part of the county can fail years sooner up here.
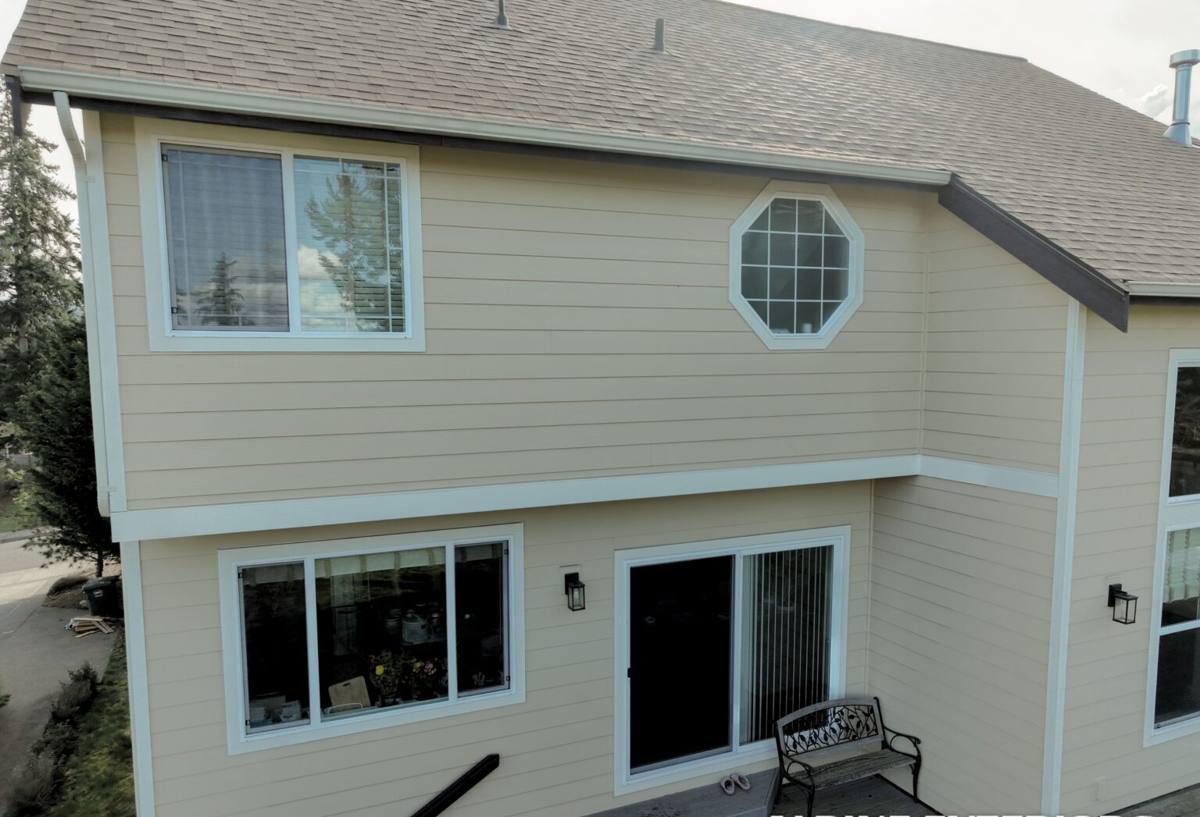
What a Marine-Adjacent Climate Actually Does to Siding
Salt Air
Airborne salt accelerates corrosion on exposed metal — fasteners, flashing, and trim — and it also breaks down some paint and coating systems faster than inland exposure would. Siding materials and finishes that aren't formulated to handle this eventually show chalking, fading, or fastener bleed-through years ahead of schedule.
Driving Rain
Wind off the water doesn't just drop rain straight down — it pushes it sideways into wall assemblies, laps, and seams. Any siding installed with tight or inconsistent gapping, under-caulked trim, or a weak drainage plane behind it will eventually let water track behind the cladding, where it does the real damage.
Moss and Sustained Moisture
Skagit County's overcast, wet season runs long. On north-facing walls and shaded elevations — common on hillside lots around Cap Sante — siding can stay damp for days after a storm passes. That sustained moisture is what feeds moss and mildew growth on porous or poorly sealed surfaces, and it's also what causes wood-based products to swell, delaminate, or rot at the edges over time.
Why We Install Only James Hardie Fiber Cement
We don't install vinyl, LP SmartSide, cedar, primed spruce, or other fiber cement brands, and Cap Sante is a good example of why. James Hardie siding is non-combustible fiber cement — it doesn't absorb water the way wood-based products do, it doesn't soften or delaminate at cut edges the way engineered wood can when moisture gets in, and it doesn't chalk and become brittle under UV and salt exposure the way lower-grade vinyl does over a couple of decades. It's not that other products can't be installed correctly — it's that fiber cement's core material properties give it a real advantage in exactly the conditions this neighborhood produces: sustained damp, salt air, and driving rain.
James Hardie's ColorPlus factory-applied finish is baked on and cured under controlled conditions, which gives it better fade and wear resistance than field-applied paint, and it comes with its own finish warranty separate from the substrate warranty. For a home exposed to salt air and long wet seasons, that finish durability matters more than it would in a drier climate.
HZ5 Engineering: Built for This Region
James Hardie doesn't make one generic siding product for the whole country — its HardieZone system engineers the formulation for regional climate demands. The Pacific Northwest, including Skagit County, falls into the HZ5 zone, engineered for wet, moderate climates with significant moisture exposure. That's a meaningful distinction: a product engineered for a dry, hot climate zone isn't the right match for a home a few blocks from Cap Sante Marina, and installing the wrong zone product is one of the quieter mistakes that shows up as problems years later.
What Correct Installation Looks Like Here
Fiber cement siding performs the way it's supposed to only when it's installed to manufacturer specification — and on a site exposed the way Cap Sante is, the details matter more, not less. A correct installation on a home like this includes:
- Proper starter strip and clearance from grade, decks, and roof lines to keep splashback and standing water off the bottom edge of the siding
- Correct panel and lap gapping per Hardie spec, sealed and caulked at the manufacturer's recommended points — not everywhere, and not nowhere
- Stainless or coated fasteners rated for coastal/corrosive exposure, driven correctly (not overdriven, which cracks the board and opens a moisture path)
- A functioning drainage plane and weather-resistive barrier behind the siding, with rainscreen furring where the wall assembly calls for it, so any water that does get past the cladding has somewhere to go
- Properly flashed and sealed penetrations — windows, vents, hose bibs, light fixtures — since these are the most common places water actually gets in, not the flat field of the siding itself
- Factory-cut or properly sealed field cuts, since an unsealed cut edge is one of the few places fiber cement can take on water over time
Skip any one of these on a home this exposed, and the siding itself can be excellent material and still underperform.
Common Problems We Find on Older Cap Sante Siding
When we're called out to look at an aging or failing exterior in this neighborhood, a handful of issues show up repeatedly: moss and algae staining concentrated on shaded, north- or west-facing walls; soft or delaminating spots on wood-based siding where moisture worked in at seams or fastener heads; caulking that's shrunk, cracked, or pulled away at trim joints after years of salt air and UV exposure; and rust streaking below fasteners or flashing that wasn't rated for the exposure. These aren't signs of a bad neighborhood to build in — they're signs of a wall system that wasn't matched to what this location actually experiences year-round.
Our Process for a Cap Sante Siding Project
1. Site and Exposure Assessment
We look at which elevations take the most weather, where the home sits relative to prevailing wind and rain direction, and what the existing wall assembly looks like once the old siding comes off. That drives decisions about house wrap, rainscreen, and flashing details — not just the siding itself.
2. Tear-Off and Substrate Check
Old siding comes off and we inspect the sheathing underneath for hidden rot or moisture damage before anything new goes up. On homes with a history of water intrusion, this step is where problems get caught early instead of getting sealed behind new siding.
3. Weather Barrier and Drainage Plane
We install or verify a proper weather-resistive barrier and drainage path appropriate for the exposure, particularly on walls facing the water or prevailing weather.
4. James Hardie Installation to Spec
HZ5 product, installed per manufacturer clearance, gapping, and fastening requirements, with coastal-rated fasteners and correctly sealed penetrations and trim.
5. Final Detail and Walkthrough
We walk the finished exterior with the homeowner, review what was done at trim, flashing, and transition points, and go over the warranty coverage in plain terms.
Color and Style Fit for the Neighborhood
Cap Sante homes range from older, established houses to newer builds, many taking advantage of water and marina views. James Hardie's ColorPlus palette and plank, shingle, and panel profiles give enough range to match a traditional Pacific Northwest look or a more contemporary exterior, without sacrificing the finish durability that matters most in this exposure. We're glad to walk through profile and color options during an estimate rather than trying to steer every home toward the same look.
What Affects the Cost of a Project Like This
| Cost Factor | Why It Matters on a Cap Sante Home |
|---|---|
| Wall assembly condition | Hidden rot or moisture damage found at tear-off adds repair scope before new siding can go on correctly |
| Exposure and elevation count | Homes with more walls directly facing wind and water may need added rainscreen or flashing detail |
| Siding profile and trim complexity | Multiple profiles, extensive trim, or architectural detail add labor beyond a simple plank re-side |
| Access and site conditions | Sloped lots and tight setbacks common near the hill can affect staging and scaffolding needs |
| Fastener and flashing grade | Coastal-rated hardware costs more than standard-grade but is what the exposure requires |
We give a firm, itemized quote after walking the actual site — broad national averages don't account for what a given wall assembly and exposure actually need.
Keeping Correctly Installed Hardie Siding Looking Its Best
- Rinse siding periodically, especially on shaded or north-facing walls where moss and grime build up faster
- Keep gutters clear so overflow isn't running down the siding face
- Trim back vegetation and landscaping that keeps a wall shaded and damp longer than it needs to be
- Have caulking at trim and penetrations checked every few years and refreshed if it's shrinking or cracking
- Address any impact damage or cracked boards promptly so cut or damaged edges aren't left exposed to moisture
Correctly installed James Hardie siding is low-maintenance, not no-maintenance — a little attention keeps it performing for its full service life in an exposure like this one.
If you're planning a siding project on a Cap Sante home, we're happy to walk the property, look at what your walls are actually dealing with, and put together a straightforward, no-pressure estimate. Use the form below to get started.