 Anacortes Exterior
 Building New in Flounder Bay? The Windows Have to Earn Their Keep
Flounder Bay sits close enough to the water that every window on a new build is going to deal with salt-laden air, wind-driven rain, and long stretches of gray, damp weather before it ever sees a full dry season. On new construction, you get one real shot at doing this right — the rough openings are exposed, the weather-resistive barrier is accessible, and the flashing sequence can be built correctly from the framing out. Once siding or trim goes on, fixing a bad window install means tearing into finished work. We treat new-construction window installs in Flounder Bay as a sequencing job as much as a window job: the right unit, installed in the right order, tied into the right materials.
This page is about that one job — new-construction windows for homes being built in Flounder Bay — not a general window replacement pitch. If you're building here, the window package deserves its own plan.
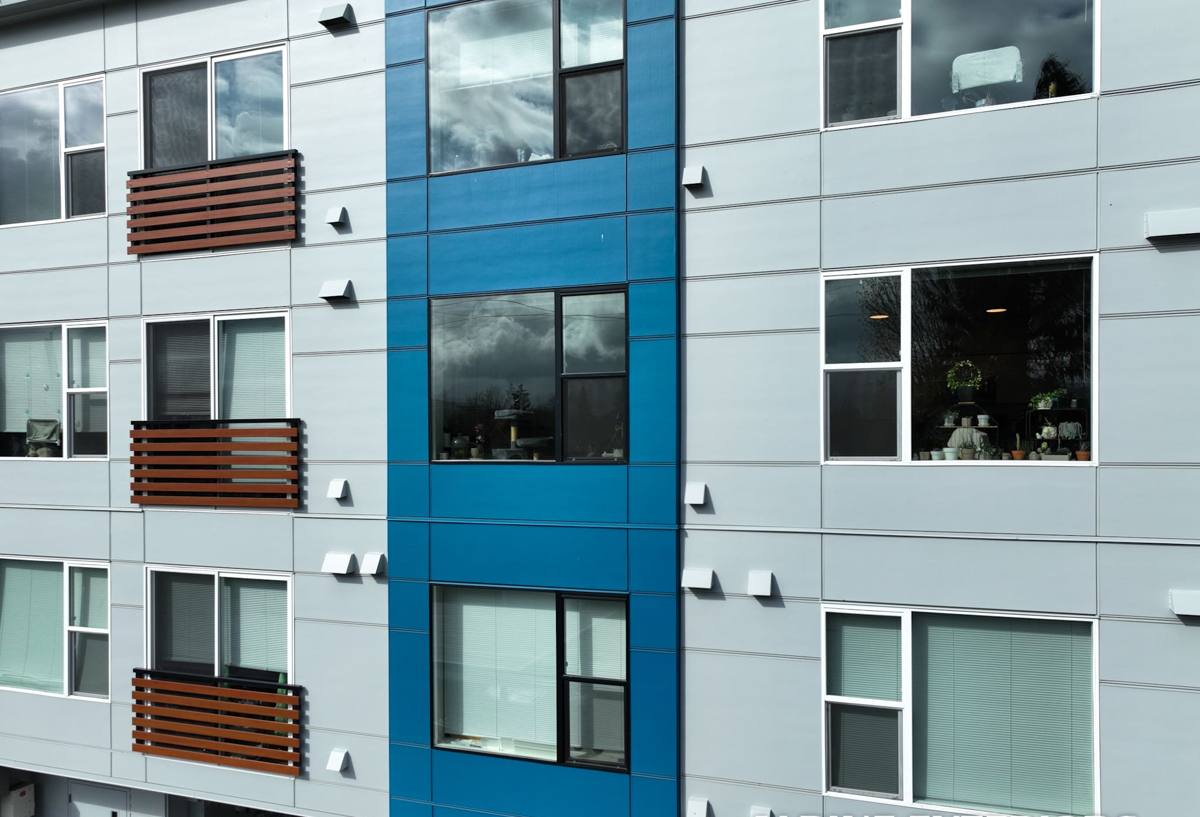
What Anacortes and Skagit County Weather Actually Does to Windows
Anacortes and the rest of Skagit County get a specific combination of conditions that inland Washington builds don't have to plan around as heavily:
- Salt air corrosion: Proximity to the water accelerates corrosion on hardware, fasteners, and lower-grade cladding finishes over time.
- Driving, wind-driven rain: Storms off the water push rain sideways into wall assemblies, which puts real pressure on flashing details, not just the window unit itself.
- Long moss and mildew season: Persistent damp weather for much of the year means anything that traps or channels moisture against the building will grow moss, algae, or mildew faster here than in drier parts of the state.
- Temperature swings between seasons: Enough freeze-thaw cycling in winter to matter for sealants and expansion gaps, without the extreme cold that drives some interior-climate decisions elsewhere.
None of this means Flounder Bay needs exotic materials. It means the installation details — flashing laps, sill pans, sealant selection, and drainage paths — matter more here than they would on a build twenty miles inland.
Why the Sill Detail Matters Most
Most window failures we get called out to inspect on the water side of Anacortes trace back to the sill, not the window itself. A sill pan that isn't sloped to drain, or isn't lapped correctly under the weather-resistive barrier, gives wind-driven rain a place to collect instead of shed. On new construction, this is the one detail that's dramatically easier to get right before the wall is closed up — which is exactly why we treat it as a separate, verified step on every install, not an assumed part of "hanging the window."
What a Correct New-Construction Window Install Involves
New-construction windows are installed with a nailing fin into an open rough opening, before exterior cladding goes on — different from a retrofit or pocket replacement into an existing wall. Done correctly, the sequence looks like this:
- Rough opening check: Confirm the opening is square, plumb, and sized correctly for the specified unit before it ever arrives on site.
- Sill pan flashing: Install a sloped, sealed sill pan so any water that gets past the window has a built-in path back out, not into the wall cavity.
- Weather-resistive barrier integration: Lap the WRB over the top flange and under the side and sill flashing in the correct shingle-style order so water always drains down and out, never into a seam.
- Setting the unit: Level, plumb, and square the window in the opening, shimming as needed so it operates correctly and doesn't rack under its own weight.
- Fastening per manufacturer spec: Nailing fin fasteners placed and spaced according to the window manufacturer's instructions — this is also what keeps the warranty intact.
- Flashing tape and sealant: Seal the fin and flashing tape with a product rated for the exposure, tying into the drainage plane rather than just caulking over gaps.
- Interior air sealing: Seal the interior gap between the frame and rough opening with a low-expansion foam or backer rod and sealant appropriate for window frames, so you get an air seal without bowing the frame.
- Final operation and quality check: Open, close, and lock every unit, and check for square and even reveals before the crew moves on to trim and cladding.
Choosing Windows That Belong in Flounder Bay
Frame material and glass package both matter more near the water than they do further inland. This is a general comparison to help frame the conversation — your builder or architect's spec usually drives the final call, and we'll work with whatever's specified or help you evaluate options during planning.
| Frame Material | How It Handles Salt Air & Rain | Maintenance Trade-Off |
|---|---|---|
| Vinyl | Doesn't corrode; performs well against salt air and moisture | Low maintenance; color and frame options are more limited than other materials |
| Fiberglass | Very stable in temperature swings and wet climates; strong resistance to warping | Higher upfront cost; low ongoing maintenance |
| Aluminum | Strong but conducts cold and can be prone to corrosion near salt air unless properly finished | Needs a quality marine-grade or well-finished coating to hold up long-term here |
| Wood / wood-clad | Handsome look but needs consistent upkeep in a persistently damp climate | Highest maintenance burden; finish and joints need regular attention to avoid moisture intrusion |
For most new builds in Flounder Bay, we steer homeowners toward vinyl or fiberglass for the exposure this close to the water, simply because they hold up with less ongoing maintenance in a salt-air, high-moisture environment. If a design calls for wood or aluminum, we'll flag the maintenance commitment honestly up front rather than let it be a surprise five years in.
Glass and Weather Sealing
Double-pane, low-E glass with an argon fill is the standard baseline for new construction in this climate — it manages both the damp cold of winter and the glare and heat of the brighter months without overbuilding the spec. Where a home has more direct wind exposure off the water, we'll talk through upgraded weatherstripping and higher-performing sash locks as part of the plan, rather than defaulting straight to the most expensive package regardless of exposure.
Our Process for New-Construction Window Jobs
Because this is new construction, timing and coordination with the rest of the build matter as much as the install itself.
- Plan review: We review window schedules and rough opening dimensions against the actual framing before ordering, catching mismatches early instead of on delivery day.
- Coordination with your builder: We work around your framing and WRB schedule so windows go in at the right point in the sequence — not too early, not after cladding prep has already started.
- Site protection: Openings are protected from weather between framing and window install, which matters more here than in a drier climate given how quickly a stretch of Anacortes rain can move in.
- Install and inspection: Each unit is installed following the sequence above, with a walk-through check on operation, seal, and reveal before we sign off.
- Documentation: We keep manufacturer install documentation on file, which matters for warranty claims down the road.
A Simple Pre-Drywall Checklist We Use
- Every sill pan sloped and sealed before the window went in
- WRB properly lapped over top flange, under side and sill flashing
- All units level, plumb, square, and operating smoothly
- Fasteners placed per manufacturer spec, not just "enough to hold it"
- Interior gaps sealed with appropriate low-expansion foam or backer rod
- No exposed fastener heads or unsealed flashing seams before cladding closes it in
What Drives Cost on a New-Construction Window Package
Every new build is different, so we don't quote sight-unseen, but these are the main factors that move the number:
| Factor | Why It Matters |
|---|---|
| Number and size of openings | More or larger units mean more material and labor hours, straightforward but worth planning for early |
| Frame material selected | Vinyl, fiberglass, aluminum, and wood carry different material costs and install considerations |
| Exposure and orientation | Units facing the water or prevailing wind may warrant upgraded sealing or hardware |
| Access and site conditions | Lot slope, staging area, and how far units have to be carried affect labor time |
| Coordination complexity | Tight scheduling with framing, roofing, and cladding crews can affect how efficiently the install goes |
We'd rather walk the plans and the lot with you and give a real number than throw out a broad range that doesn't hold up once we see the site.
Why Local Experience in Flounder Bay Matters
Anyone can hang a window. Getting the flashing sequence right for a specific exposure, on a specific lot, in a climate that punishes shortcuts with moss, staining, and slow leaks — that's where local experience shows up. A crew that's worked new construction elsewhere in Skagit County knows how Flounder Bay's proximity to the water changes the calculus on sill details and frame material, and has already made the adjustments that come from seeing what holds up here and what doesn't.
We also know the practical side: working around other trades on an active new-construction site, keeping openings protected between framing and install during an unpredictable stretch of Anacortes weather, and documenting the work so your manufacturer warranty stays intact if you ever need it.
Get a Straightforward Estimate
If you're building in Flounder Bay and want the window package planned out correctly from the start, we're glad to walk your plans and your lot with you. No pressure, no inflated scope — just a clear look at what your build needs and an honest number. Use the form below to request a free estimate.