 Anacortes Exterior
 Why Ship Harbor's Marine Exposure Changes How Windows Should Be Installed
Ship Harbor sits close enough to the water that homes here take on weather most inland Skagit County neighborhoods never see. Salt-laden air moves through window hardware and fastener heads year-round, driving rain gets pushed sideways into wall assemblies during winter storms, and the long, gray moss season keeps north- and west-facing walls damp for weeks at a stretch. None of that is a problem a window unit solves by itself. It's a problem the installation has to solve — the flashing details, the sealants, the fastener choices, and the way the window ties into the wall behind it.
We've installed and replaced windows across Anacortes and the surrounding waterfront neighborhoods long enough to know that a window that performs fine in a dry inland climate can fail early in a spot like Ship Harbor if it's put in using generic, one-size-fits-all methods. The window itself is often the easy part. The water management around it is where jobs succeed or fail.
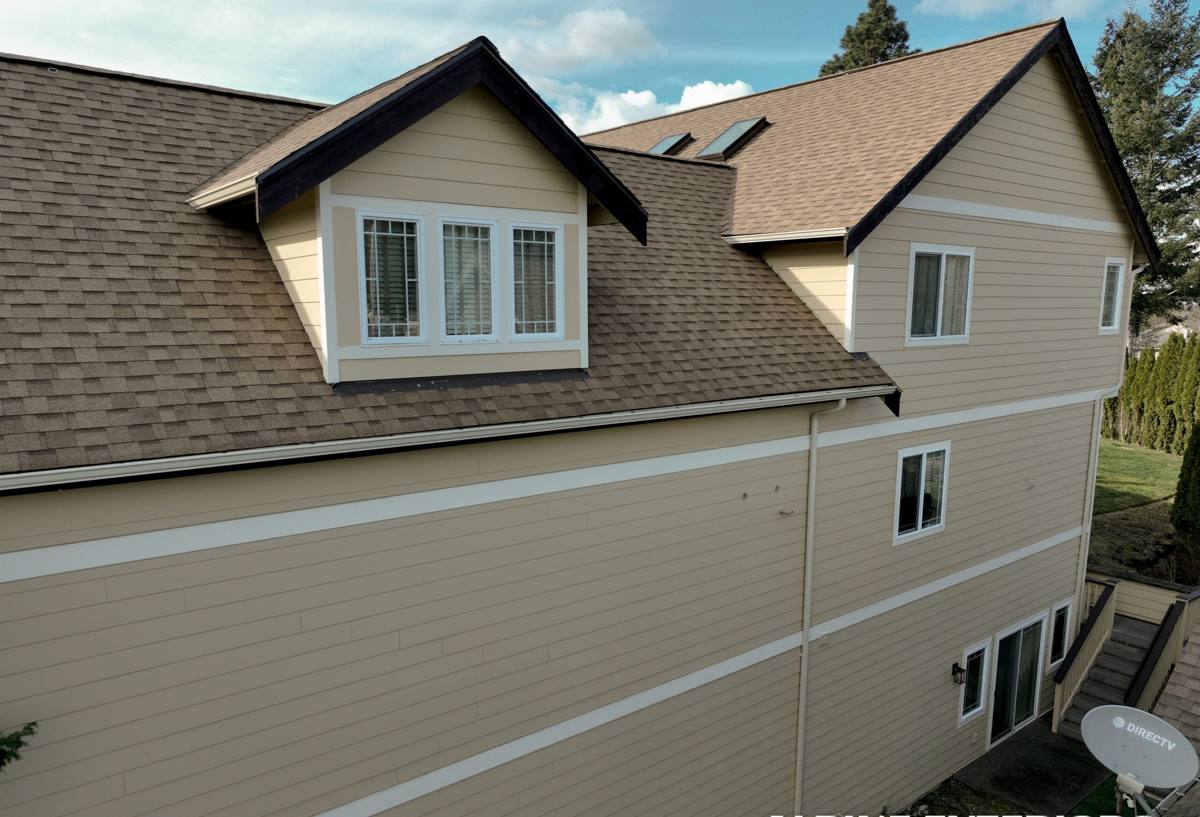
What a Correct Window Installation Actually Involves
A window opening is a hole in your wall's weather barrier, and every layer around that hole has a job to do. Skip or shortcut one, and water finds it — sometimes immediately, sometimes three winters later when the damage is already inside the wall cavity.
The layers that matter
- Weather-resistive barrier (WRB) integration — the house wrap or building paper has to be cut, lapped, and taped so water sheds over each layer like shingles, never behind it.
- Sill pan flashing — a sloped, sealed pan under the window opening gives any water that gets past the window a path back outside instead of into the framing.
- Head flashing — installed last, over the top nailing flange, so it directs water forward off the wall rather than trapping it against the sheathing.
- Jamb flashing and sealant — continuous, not spot-applied, especially on walls that take direct wind-driven rain.
- Fastening and shimming — correct shim placement keeps the frame square so the sash operates properly and the perimeter seal isn't stressed unevenly over time.
- Interior air sealing — low-expansion foam or backer rod and sealant around the interior gap, which controls condensation as much as it controls drafts.
In a marine climate like Ship Harbor's, we also pay close attention to fastener and flashing tape material. Standard galvanized fasteners and cheaper flashing tapes degrade faster in salt air; we use corrosion-resistant fasteners and flashing products rated for coastal exposure so the assembly holds up for decades, not just through the warranty period.
Choosing a Window Built for This Environment
Homeowners often come to us focused on style or brand name, but frame material and hardware quality matter more to long-term performance in a salt-air, high-rainfall setting than most people expect.
| Frame Type | How It Handles Salt Air & Moisture | Maintenance Burden |
|---|---|---|
| Vinyl (quality, welded corners) | Doesn't corrode; UV-stable formulations resist chalking near the water | Low — occasional washing |
| Fiberglass | Excellent dimensional stability, very low expansion/contraction in temperature swings | Low — durable finish |
| Aluminum-clad wood | Attractive, but cladding seams and hardware need monitoring near salt air | Moderate — periodic sealant and hardware checks |
| Bare wood | Handsome but most vulnerable to moisture cycling and moss/mildew staining | High — regular refinishing required |
We don't refuse to install any particular material — it's the homeowner's home and budget — but we're upfront about trade-offs. If a client wants wood windows for a period-appropriate look, we'll talk through the added maintenance commitment before the order goes in, not after the first wet winter.
Hardware and glazing details worth asking about
- Stainless or coated hardware rather than standard steel, since salt air accelerates corrosion on exposed hinges, cranks, and locks.
- Dual or triple weatherstripping on operable sashes for a tighter seal against wind-driven rain.
- Low-E, argon-filled dual pane glass as a baseline for our climate; triple pane is worth discussing on exposed west- or water-facing elevations.
Our Installation Process, Step by Step
Every job follows the same sequence, whether it's one window or a whole-house replacement:
- On-site assessment — we inspect existing framing, sill condition, and any signs of past water intrusion before we ever quote a number.
- Accurate measurement and ordering — windows are ordered to the actual opening, not assumed standard sizes.
- Careful removal — old units come out with attention to the condition of the framing and sheathing underneath, since that's often where hidden problems surface.
- Repair before install — any soft framing, rot, or compromised WRB gets addressed before a new window ever goes in. Installing a new window over a damaged opening just hides the problem.
- Flashing and WRB integration — sill pan, jamb, and head flashing installed in proper shingle-lap sequence.
- Setting, shimming, and fastening — window set level, plumb, and square, fastened per manufacturer spec.
- Sealing, interior and exterior — exterior sealant beads where specified, interior air sealing around the frame.
- Trim and finish work — interior and exterior trim reinstalled or replaced to match the home.
- Walkthrough — we go over operation, locks, and any maintenance notes specific to the product installed.
Signs Your Current Windows Are Losing the Battle
Homes in Ship Harbor tend to show wear in specific ways because of the constant moisture and salt exposure. Worth checking for:
- Fogging or moisture between panes — a failed seal on the insulated glass unit.
- Soft or discolored wood at the sill or lower corners of the frame.
- Difficulty opening, closing, or locking — often hardware corrosion or a frame that's racked out of square.
- Visible gaps or cracked caulk around the exterior trim.
- Persistent drafts even with the sash fully latched.
- Green or black staining on the siding directly below a window — a strong sign water is running down from a flashing or sealant failure above it.
Any one of these on its own isn't necessarily an emergency, but a couple together usually means the window and its surrounding water management are due for attention rather than another round of caulk.
Full Replacement vs. Repair or Retrofit
Not every window in poor condition needs full removal and reframing. We look at cost, condition, and long-term value before recommending an approach.
| Approach | Best For | Key Trade-off |
|---|---|---|
| Insert (pocket) replacement | Sound existing frame and sill, no rot present | Faster and less disruptive, but doesn't address hidden framing issues |
| Full-frame replacement | Rot, water damage, or failed flashing found at the opening | More labor and cost, but the only way to fully correct the water path |
| Repair/reseal only | Newer window with an isolated sealant or hardware issue | Lowest cost, but won't fix an aging unit's seal failure long-term |
We're honest when a repair will genuinely hold and honest when it won't. If we recommend full-frame replacement, it's because we found something in the wall that an insert would seal over rather than solve — not because it's the larger job.
Living With Moss Season: Maintenance That Actually Matters
Skagit County's long wet season keeps north- and shade-facing walls damp for extended stretches, and that moisture supports moss and mildew growth on trim, sills, and siding around window openings. A few habits go a long way toward protecting a new installation:
- Keep gutters and downspouts clear so roof runoff isn't sheeting down over window heads.
- Trim back vegetation that keeps a wall shaded and slow to dry after rain.
- Rinse accumulated grime and salt residue off frames and glass a couple times a year — it's cosmetic, but it also keeps sealant surfaces clean and adhering properly.
- Check exterior caulk lines annually; a small hairline gap is a five-minute fix now and a bigger repair in two winters.
None of this is complicated, but it's the difference between a window installation that looks and performs well for 20-plus years and one that starts showing problems in five.
Why Local Installation Experience in Ship Harbor Matters
Window installation isn't uniform across every neighborhood. A crew that mostly works drier, inland jobs may not default to coastal-grade fasteners, upgraded flashing tape, or the extra attention wind-driven rain demands on exposed elevations — not out of carelessness, just because it isn't their everyday baseline. Working Ship Harbor and the rest of Anacortes regularly means we already know which elevations take the worst weather, what past building practices in this area tend to look like once we open a wall, and which materials actually hold up here rather than just on paper.
That local pattern recognition shows up in small decisions throughout a job — where we add extra flashing lap, which sealant we trust for a west-facing wall, when a "small" gap around a sill is worth investigating further before it's covered up. Those are the calls that determine whether an installation is still performing well a decade from now.
Get a Straight Answer for Your Ship Harbor Home
If your windows are fogging, drafting, sticking, or just showing their age, we're happy to take a look and give you an honest read on whether a repair, an insert replacement, or a full-frame job makes sense — no pressure, no upsell. Fill out the form below for a free estimate, and we'll walk your home the same way we'd walk our own.